I’m having a great time teaching this 8-week manuscript book class here in Bozeman. Everyone in the class is doing such interesting work!
The last time we met I demonstrated the use of a paper drill and a Japanese paper punch in making a four-hole Japanese binding. Although the Japanese paper punch makes wonderfully clean holes, I thought that one student’s book would be too thick for the Japanese paper punch.
So I brought my Fiskars paper drill. I hadn’t used it in a good while, and I had forgotten how wonderfully efficient and easy-to-use it is — so easy, I accidentally drilled through something I shouldn’t have. And that’s all I’m going to say about that.
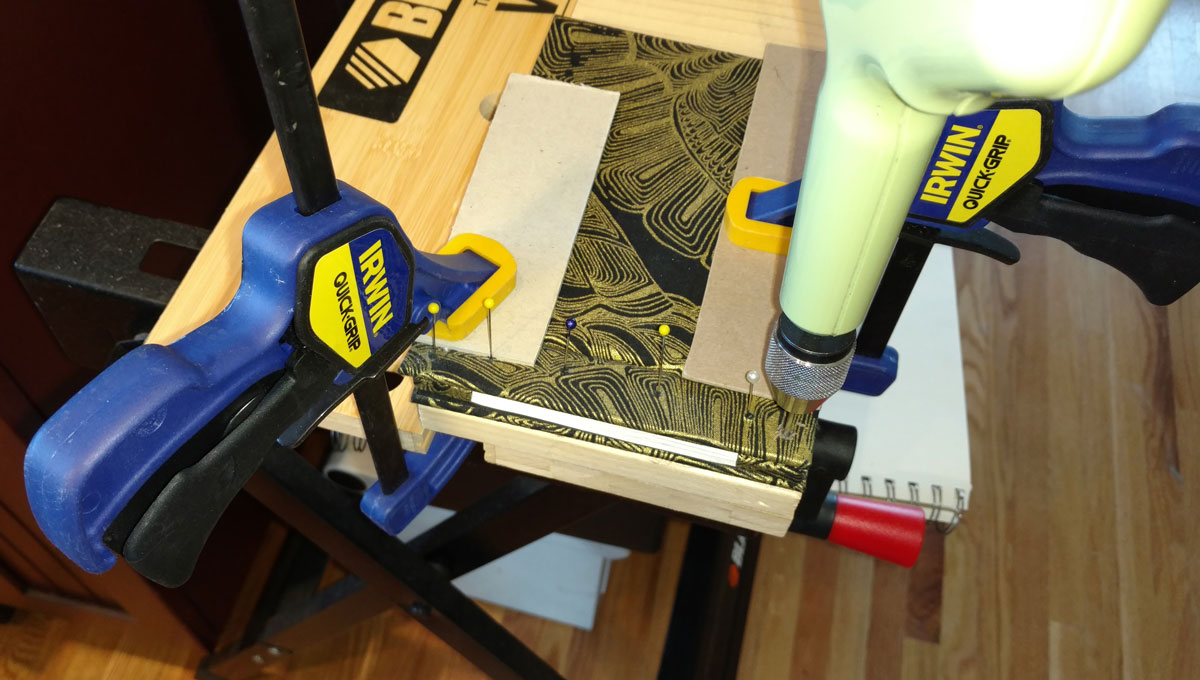
To prepare for the class meeting, I made a quick-and-dirty model using some Strathmore Drawing 300 paper and covering boards with one of the fabrics I had backed with kozo in an earlier class meeting. I drilled the holes with my paper drill in class, but afterwards, when I tried to sew it, I discovered that the holes were too small. I didn’t have any students handy to hold the book in place while I drilled bigger holes, so I lined up the holes with large-head pins, clamped it to my workmate, and went to work. And then finished up with the sewing. Note to self: even if you don’t measure and place the four holes precisely, the two corner holes should be carefully placed so that the sewing around and spine and head/tail makes a square.