When the pianist isn’t needed much …

… the pianist will play at something else. At a 6-hour stage rehearsal of “Kiss Me, Kate” the other night, I was happy to have brought along a package of Fudebiyori metallic brush pens (straight out of the mailbox) and a pad of Strathmore Artagain paper. The metallic sheen is fairly subtle in person, but not as subtle as this shows it to be. The colors look great on black.

Fudebiyori metallic brush pens on Strathmore Artagain paper.

Lettering on rocks

Some fun lettering on rocks

Last week I had some fun lettering on a few rocks I had picked up in the yard. The few accounts I had read by people about this seemed to indicate that it was difficult. It’s not. It’s actually rather … I was going to say “absorbing” but that would be silly. It’s true that if I didn’t mix the gouache thick enough, a line of dark appeared around each letter; this disappeared as the fluid dried. Rocks are actually quite lovely to write on. I tried sumi ink (Moon Palace), gold ink (Spectralite), gold watercolors (pans), white ink (Dr. Martin’s), and gouache (Schmincke mixed with either extra gum arabic or glair; I didn’t keep track of which container was which). They were all lovely to work with.

Homemade awls – student grade

Awls for class
Awls for class

I had a good time this weekend making awls for my students from a bag of sponge brushes and a paper of doll needles. The red duck tape should find it easy to find them in the studio 🙂

Here’s what I did, step by step:

  1. Drill a hole in the end of each brush handle.
  2. With cutting pliers (snips?), cut off the eye end of the doll needle to a good length.
  3. Insert the needle in the drilled hole together with Loctite glue.
  4. Cut and apply a circle of duck tape to the needle end of the awl, piercing the tape with the needle. Clip curves and smooth allowance around the handle — I pulled and attached every other clipped bit and then went back and attached the remaining ones to minimize bulk.
  5. Wrapped the handle with duck tape to secure the circle of duck tape at the end of the handle and make a nice surface to hold onto to.

Steps 4 and 5 aren’t necessary, but the duck tape adds a nice finishing touch, I think.

I was going to remove the foam brush heads from each one, but then I decided hey! it can be a double-duty tool. When the foam brush is spent, you can either unscrew it and have a straight-up awl, or you can replace the brush head. Rather ingenious, if I say it myself.

White inks at Jetpens

2016-01-20 white inks at JetPensWhile my go-to tools are metal calligraphy nibs (Mitchell, Brause, Tape) and gouache, sometimes a gold metallic gel pen can be a real pleasure .. and, sometimes more important, a portable one.

One time I ordered about 8 different gold metallic gel pens from Jetpens and had a field day testing them. Jetpens carries a whole bunch of writing tools and papers which are mostly geared toward the illustrators, manga artists, and crafters. They also provide comparative information about some of their tools and materials. Their guide to bottled white inks arrived in today’s email inbox. They compare opacity, reactivity, viscosity, water resistance, and nib compatibility.

Notably missing from the lineup for me:

  • Pro White– a favorite of mine for broad-pen work, it can be mixed with gouache for a little color.
  • Dr. Martin’s Bleed Proof White – similar to Pro White, it also mixes with gouache.
  • FW Artists Ink – a little clunky for pen work, but its dropper-in-the-cap packaging makes it convenient to use.
  • Ziller Ink – North Wind White – Great for pointed pen work. Mixes only with other Ziller inks.

Some recent and in-progress work

2015-10-05-worktable-in-progress-itemsLots of projects going these days.

Today members of our local guild bound a test text block for the collaborative book we’ve been working on. We are making a standard case binding using the same paper on which the book will be printed. Today we got as far as applying the mull to the spine. I had brought supplies for this, and I was determined to unpack it all when I got back to my studio. This led eventually to trimming the text block and applying a headband. You can just see that text block underneath the top black square of paper. I did go ahead and cut out the cover and spine boards, but that’s for another day, because I continued to work on …

Addressing styles. I had the best time addressing some personal envelopes recently and discovered that I don’t really need guidelines for certain styles. So I’ve been developing some more casual envelope address styles. Some of what I tried today is shown above: sumi ink, pigment ink, gold gel pen, and fine marker on white, black and shimmery gold stock.

Yesterday I got out two travel watercolor sets and made test cards using a water brush. At the tops of the cards are the pure colors. At the bottoms of the cards I’ve experimented with mixing and tints.


Studio tool — Parallel Pens

Standard set, available from John Neal Bookseller

After a week of cleaning my studio, there are still islands of disorder — small islands, in some cases. One of these is a box of Pilot Parallel Pens in various states of construction and usability. I really like these pens, but because I mostly use sumi inks and gouache I don’t think to get them out much. Although they can only take free-flowing media, they are about as manipulable as any writing tool there is.

Here are some great resources for getting to really know Parallel Pens:

  • Carol DuBosch’s excellent PDF sheet of hints and tricks.
  • An excellent YouTube tutorial on how to refill a spent cartridge (even if the accompanying music is a bit creepy).
  • A solution for the inexplicably poor design which prevents the cap from posting  on the other end of the pen staff. It is the little things in life that matter, sometimes, and sometimes you just want those two minutes of your life back, as I did after reading this blog post which explores in minute detail the issues surrounding posting.

At the 2014 calligraphy conference in Dallas, Carol DuBosch demonstrated the then-brand-new radius-cut Parallel Pen. More product information here, including Carol’s alphabet made with the pen.

And this recipe for pen and brush cleaner comes from Mary Lawler via Alice Young’s blog.

Just what are all these goodies from The Passionate Pen calligraphy conference?

2015-08-03-goody-bag-testing-12015-08-03-goody-bag-testing-2

One of the many fun things about the annual calligraphy conference is the goody bag. It’s always packed with interesting tools, samples, information, and ideas. At The Passionate Pen, I never got a chance to go through the goody bag in any depth, so I packed it up with all my other art supplies at the end of the week. Today when I unpacked it in my studio I couldn’t just put away all those shiny toys without finding out about them, at least a little. Here are the results of those explorations.
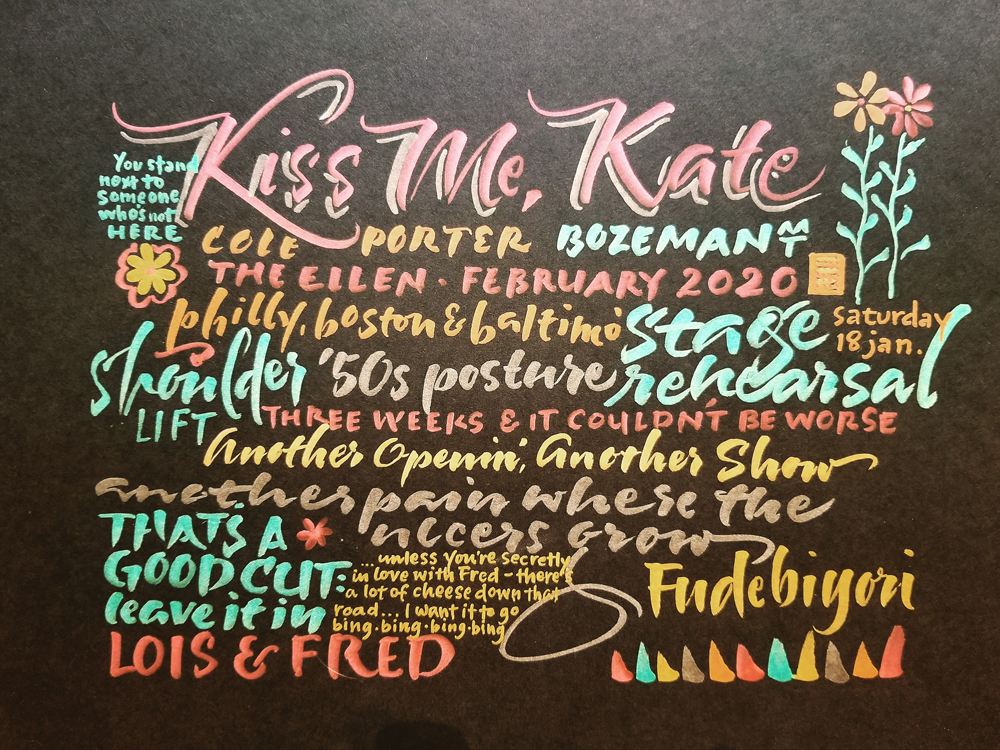
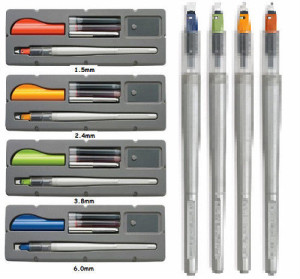
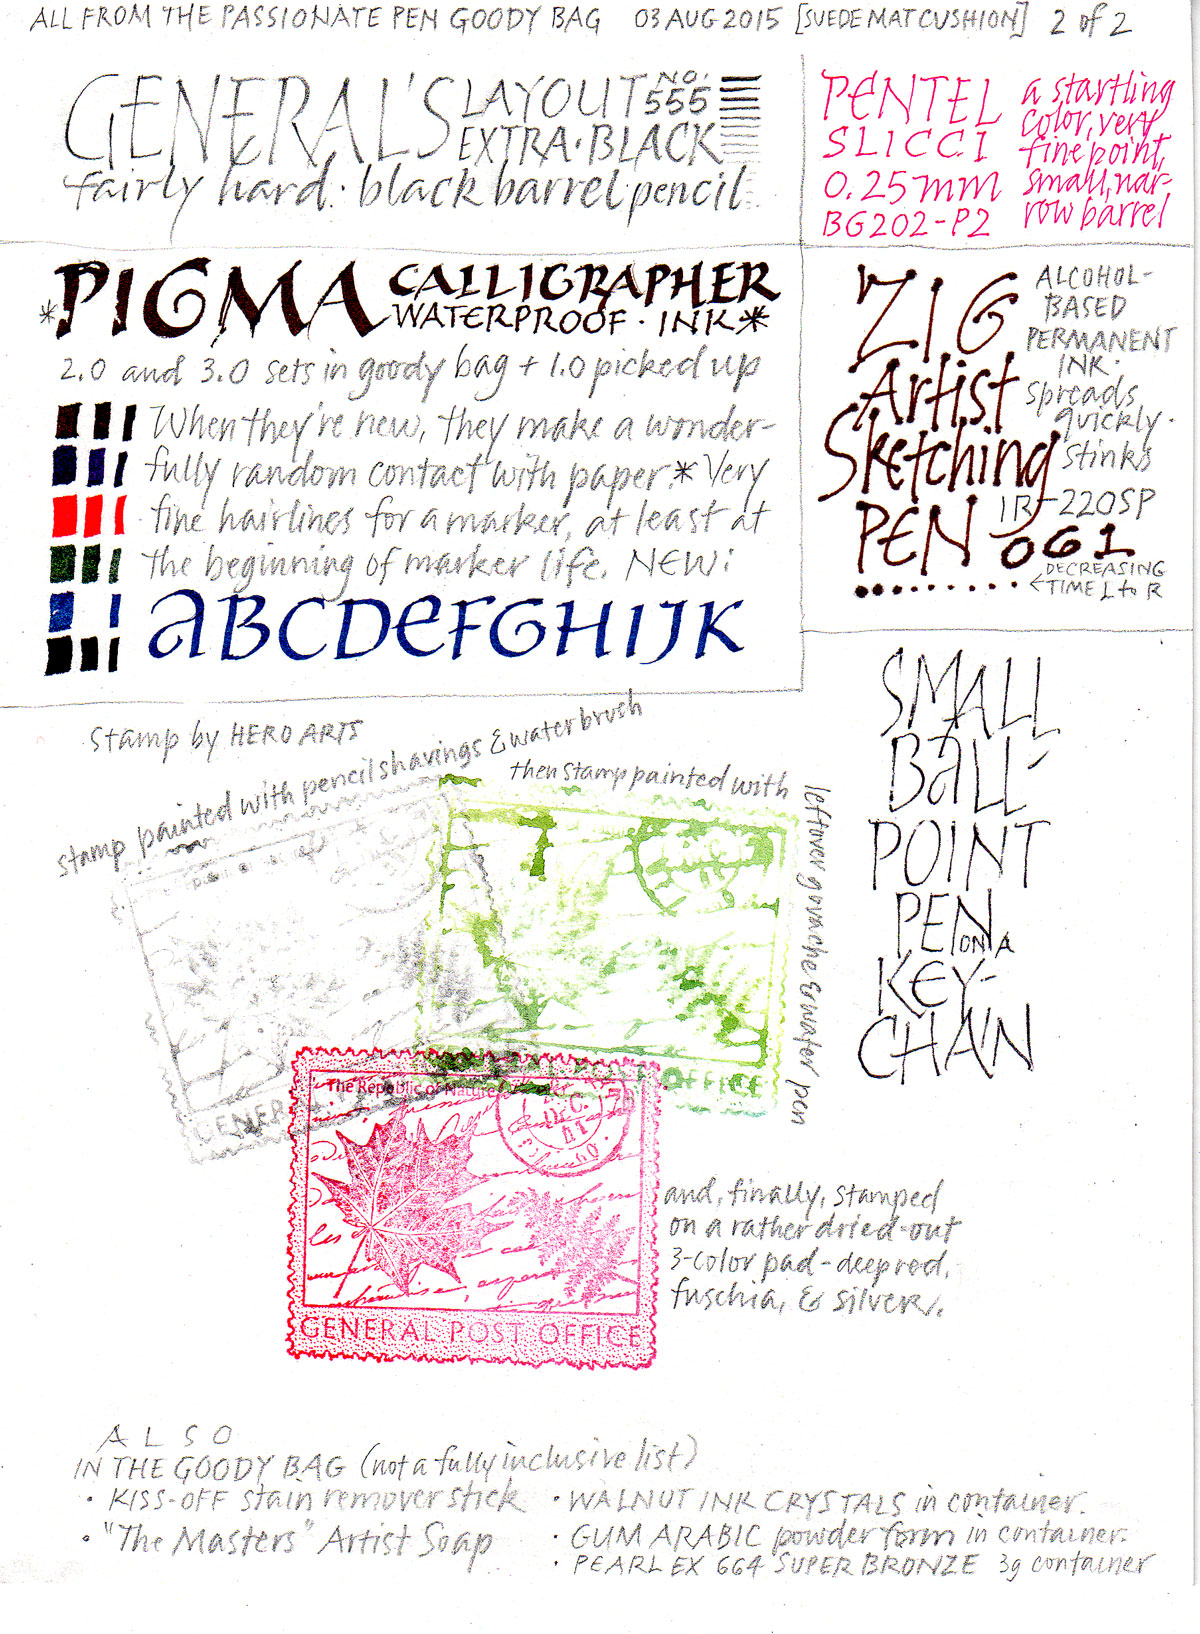
Pencils were very big this year in the goody bag. We got three different kinds of broad-edge pencils, a wash pencil, a couple of sketch pencils, and more. Then there was the ZIG Artist Sketching Pen with its alcohol ink, the little ballpoint pen/keyring, a stamp, 2 sets of Sakura Pigma Calligrapher markers (plus a 1mm set that I picked up at the trade show in return for proof that I had experimented with the 2mm and 3mm sets), and a shocking pink gel pen.
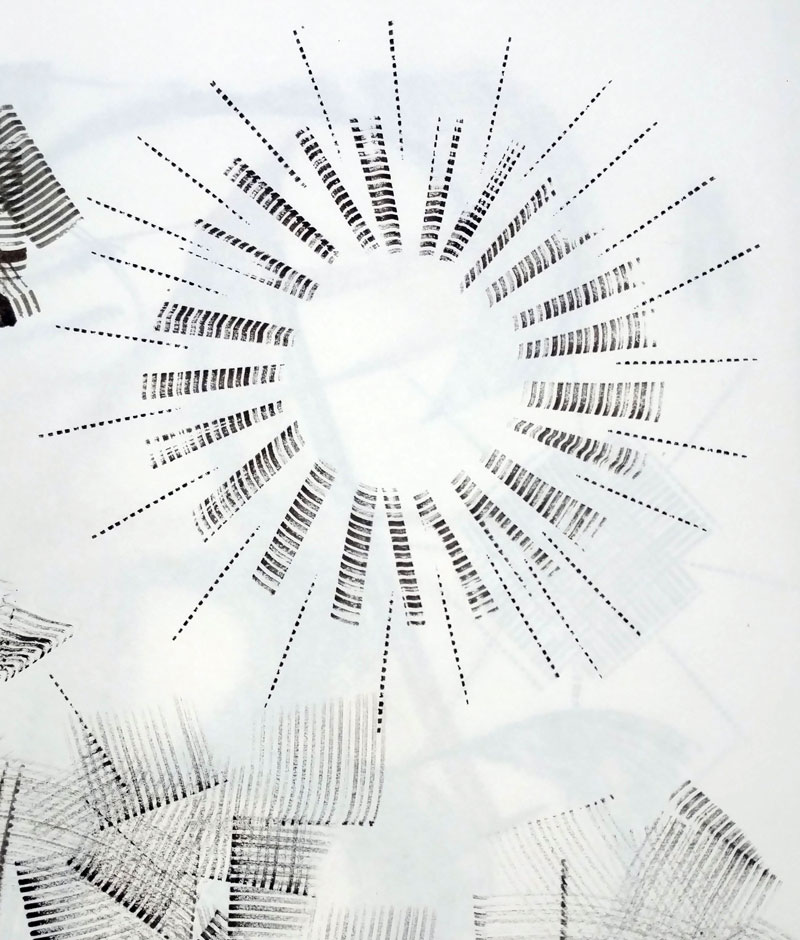
Other tools included artist soap, KISS stain remover (which many calligraphers swear by), gum arabic powder, walnut ink crystals, Pearl Ex metallic powder, and a rubber stamp. It was fun trying most of this stuff out.
And, um, I never did finish unpacking.

Testing inks

Testing inks on Aches 140# HP watercolor paper with a Brause nib

Today’s SAT analogy: Experimenting is to finished calligraphy as the tip of the iceberg is to the iceberg. One of the things that Christopher Haanes focused on in the workshop was sharpness of writing. His description of the differences between Chinese and Japanese stick inks has changed my thinking about them. (Don’t get me started on how bottled sumi ink bears no relation to stick sumi ink.)

Before I did the poem I mentioned in a recent post, I got out a bunch of inks and tested them on the paper I planned to use. This took forever, but was an interesting exercise. Of course, all the information is only useful with that paper and that nib …

rainbow writing
A bit of fun

And then I took a break and had a good time with paints  left over from an earlier piece. It looks better in person.