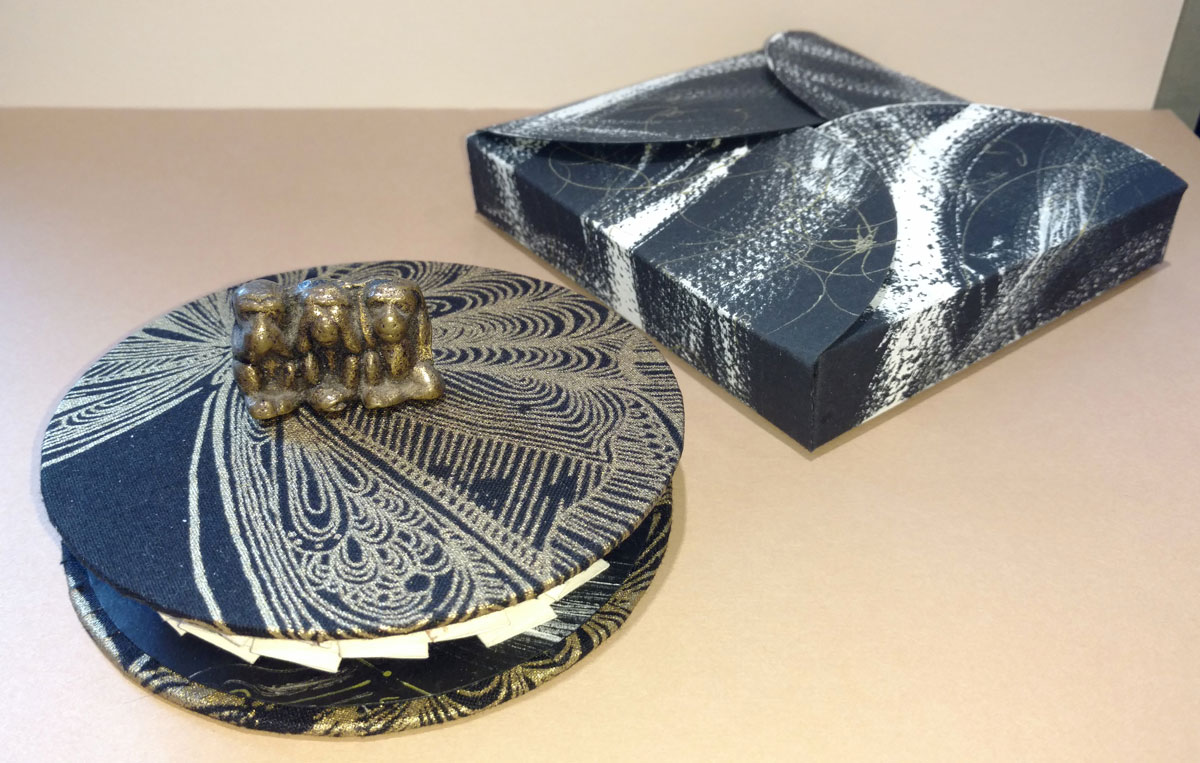
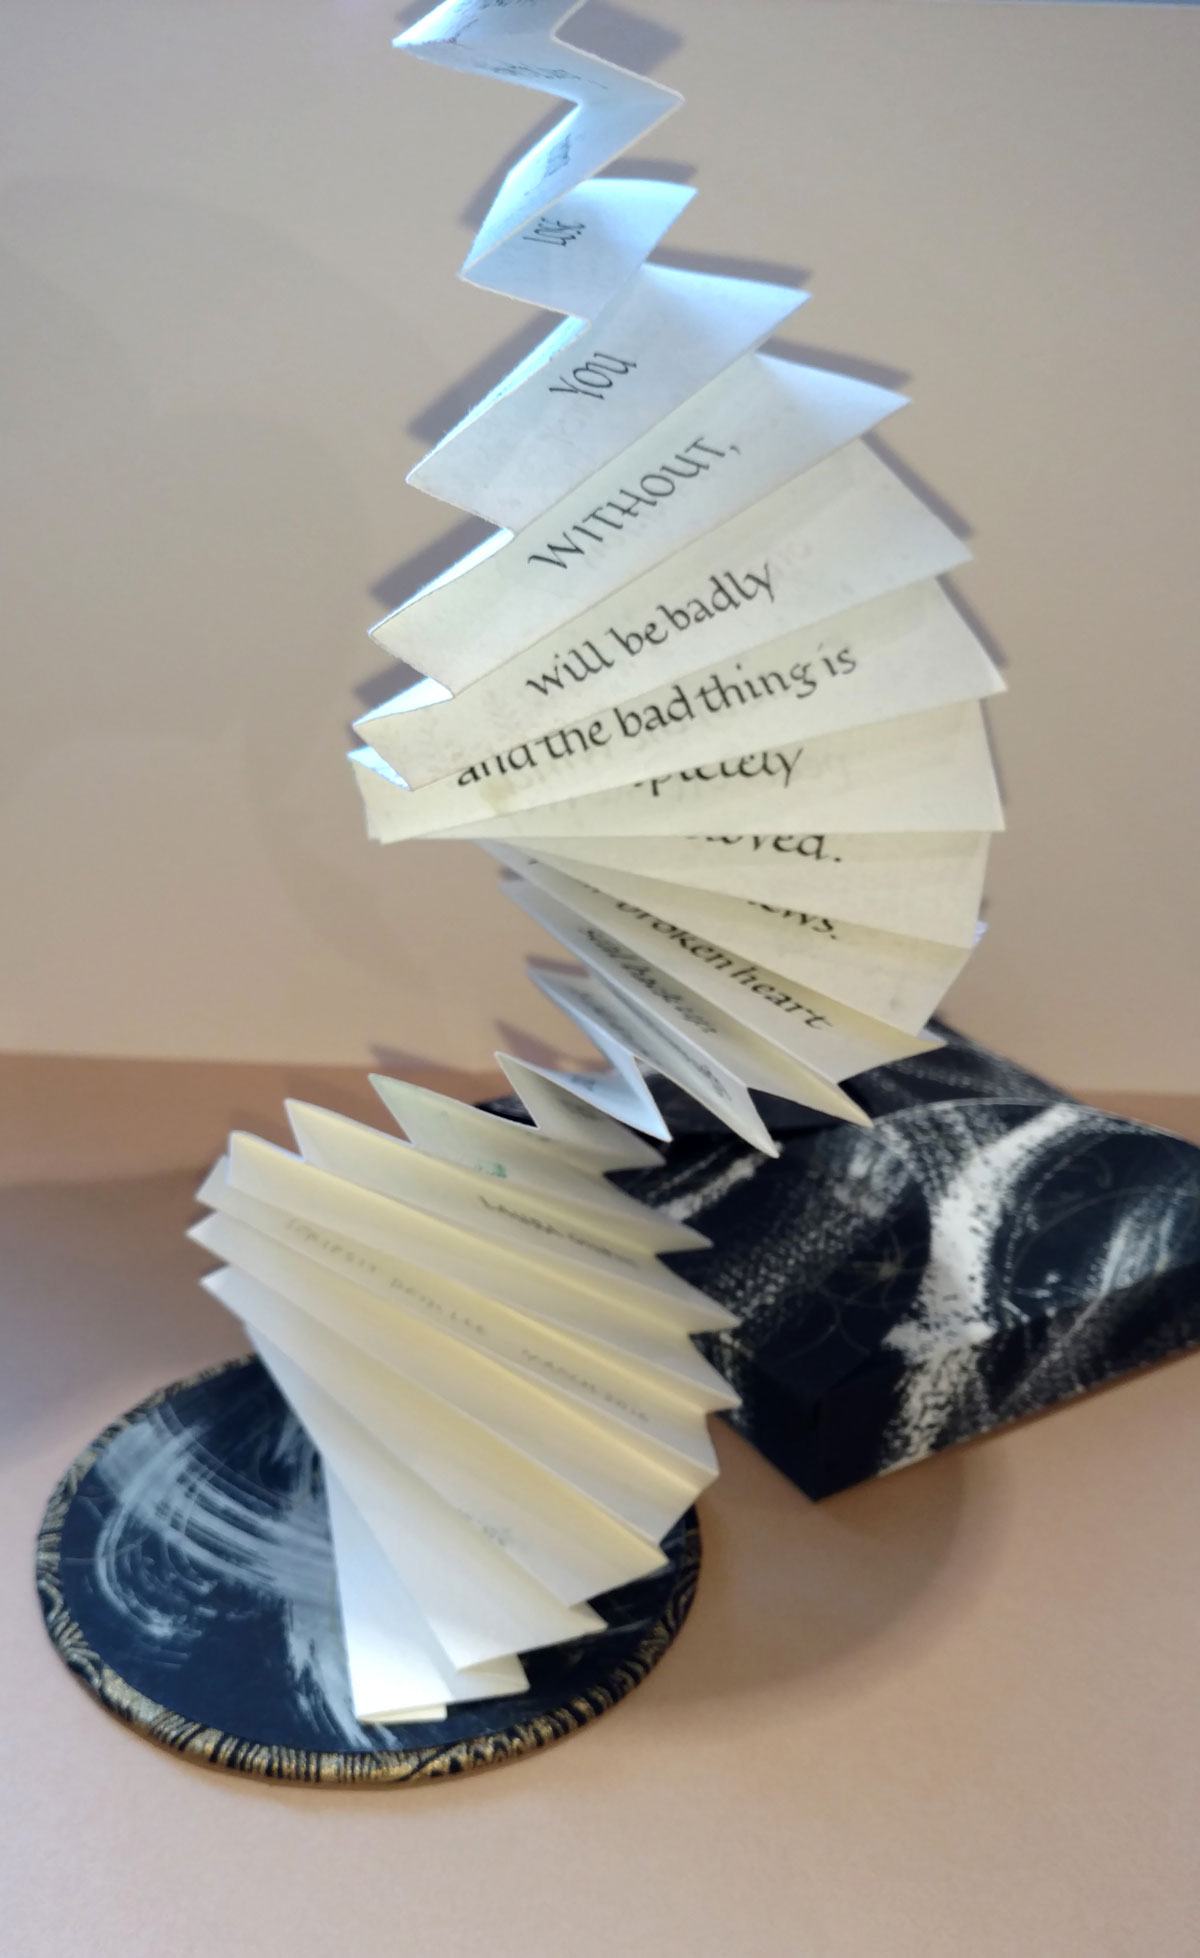
Circle accordion book (with monkey weight) and wrapper.
Towards the end of March, I made this circular accordion book as a gift for a friend. It’s a springy structure, so my three brass monkeys are sitting on the book to keep it closed. The book goes in the wrapper, shown upstage. I wrote one quotation out one side of the accordion, and balanced the message of that text with a poem on the reverse side, so that it functions rather like a dos-a-dos book.
At this month’s meeting of the Bridger Mountain Scribes, I taught the group a folded blizzard book structure … having learned it earlier that day from this YouTube tutorial by Paper Kawaii. She makes it all look so easy!
So that we could get down to folding right away, I brought pre-cut pages and covers, plus ribbon and brads (available in craft stores thanks to the popularity of scrapbooking).
It’s a fun structure that I’ve considered for other purposes because of its potential modularity: rather than making 3 accordion sections, each folded spine piece could hold a single sheet folded once, and these could be replaced as needed.
One of these books was folded from scrapbook paper stock, and the other from Arches Text Wove (painted for the spine, plain for the text accordions).
Later, I had a good time folding envelopes and other structures from Paper Kawaii’s other YouTube videos.
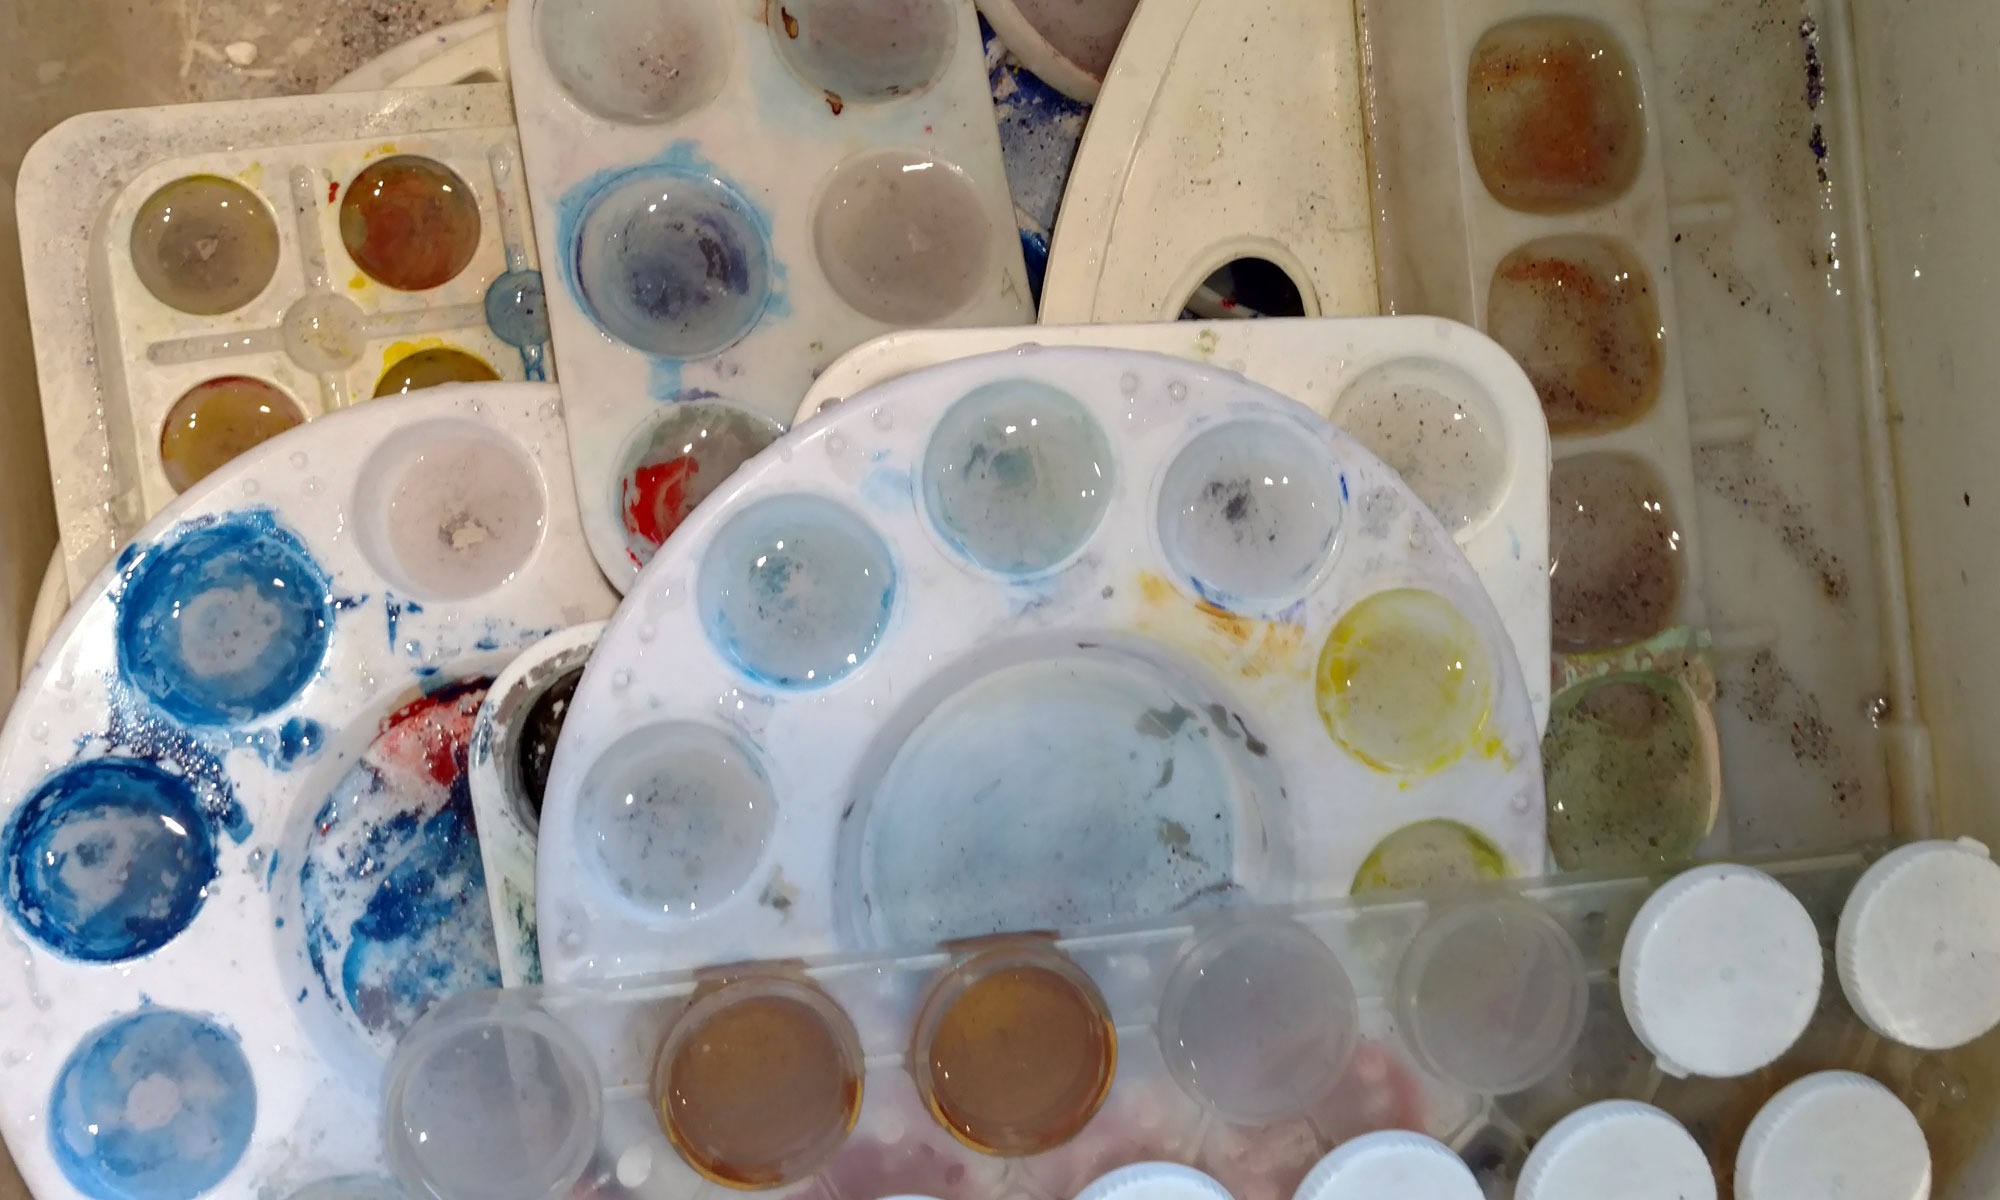
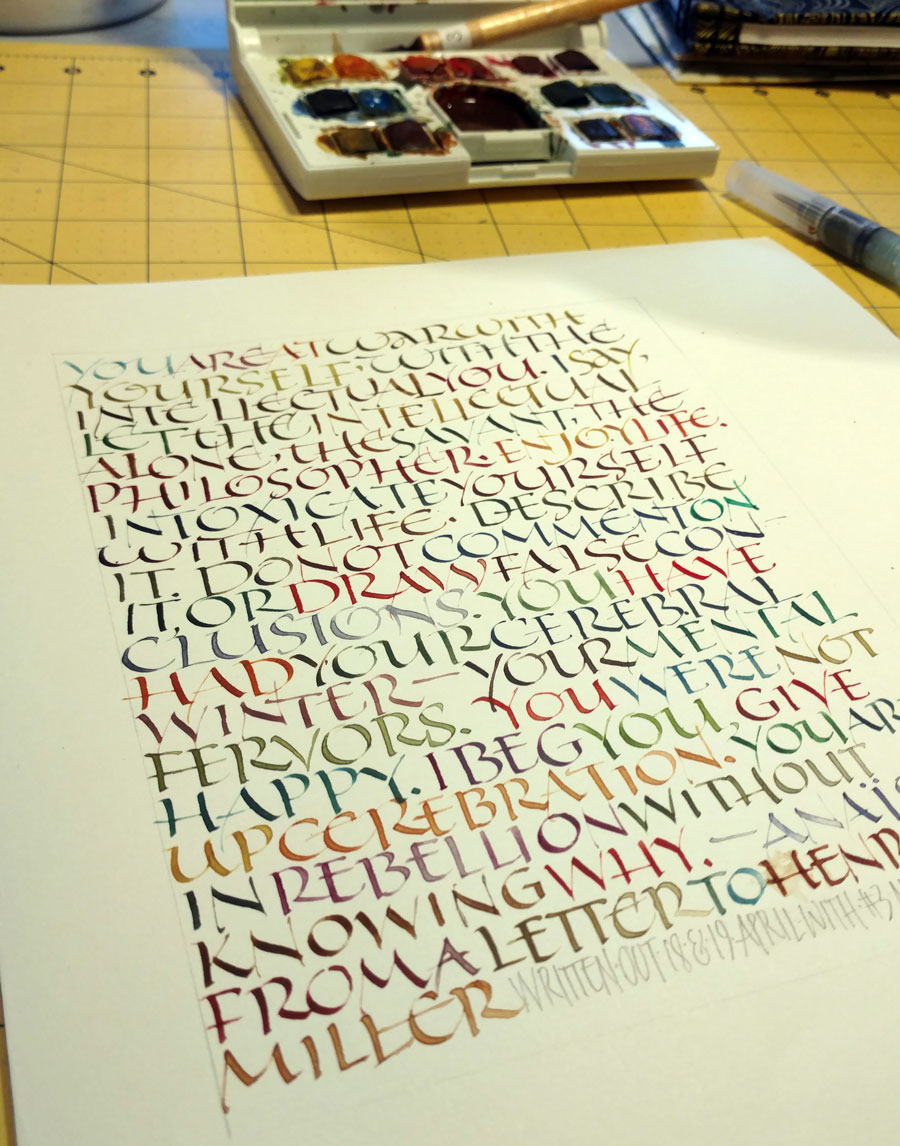
Back to my standard practice pages, which someday I’ll bind into journals. I used a water brush to help keep the palette and the brush clean. It’s handy.
As indicate at the bottom of the page: written out April 18 & 19 with #3 Mitchell nib and travel box of Winsor & Newton watercolors.
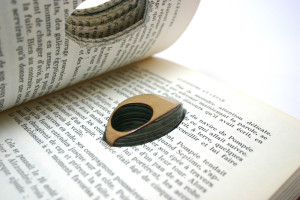
I love the idea of books transformed into jewelry. Colossal has written about jewelry maker Jeremy May, who designs jewelry from layers of vintage books. I particularly like seeing the jewelry situated in the vintage books from which they came.
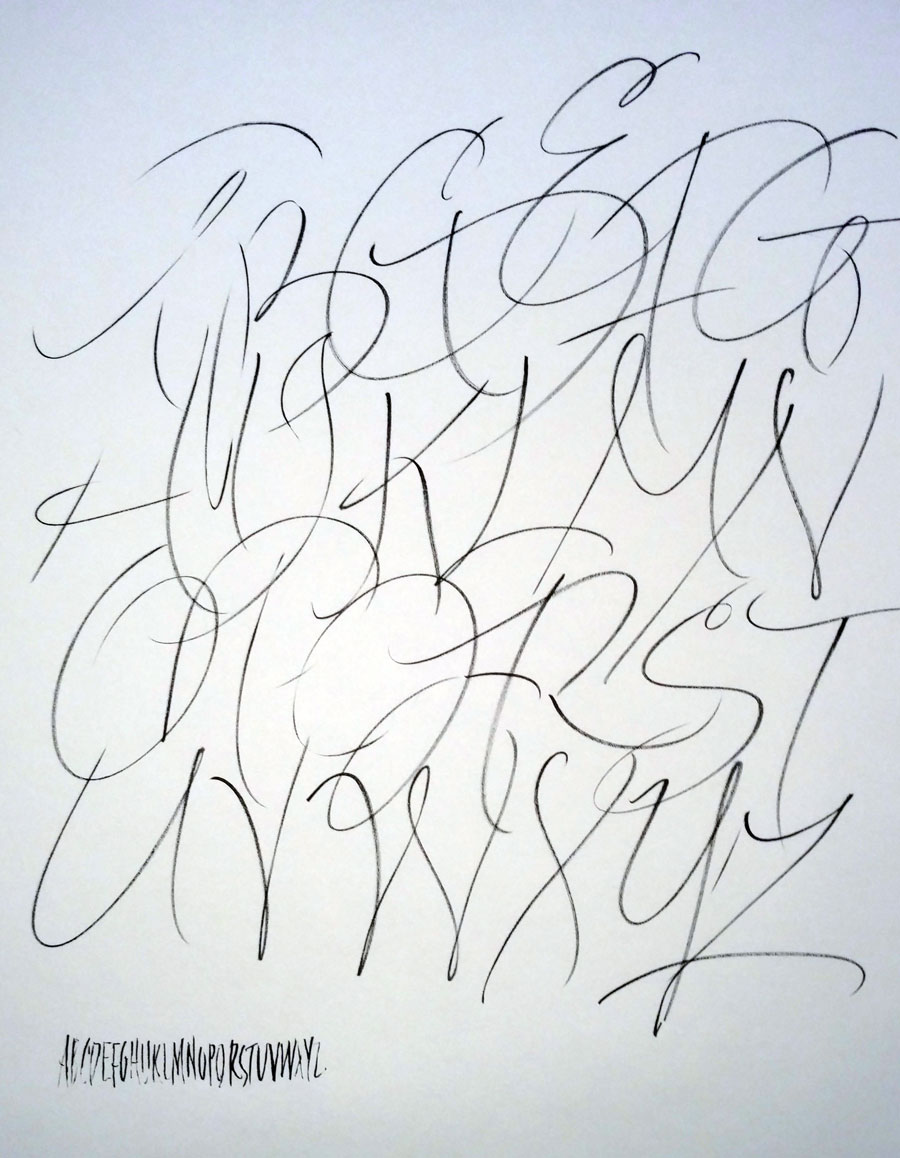
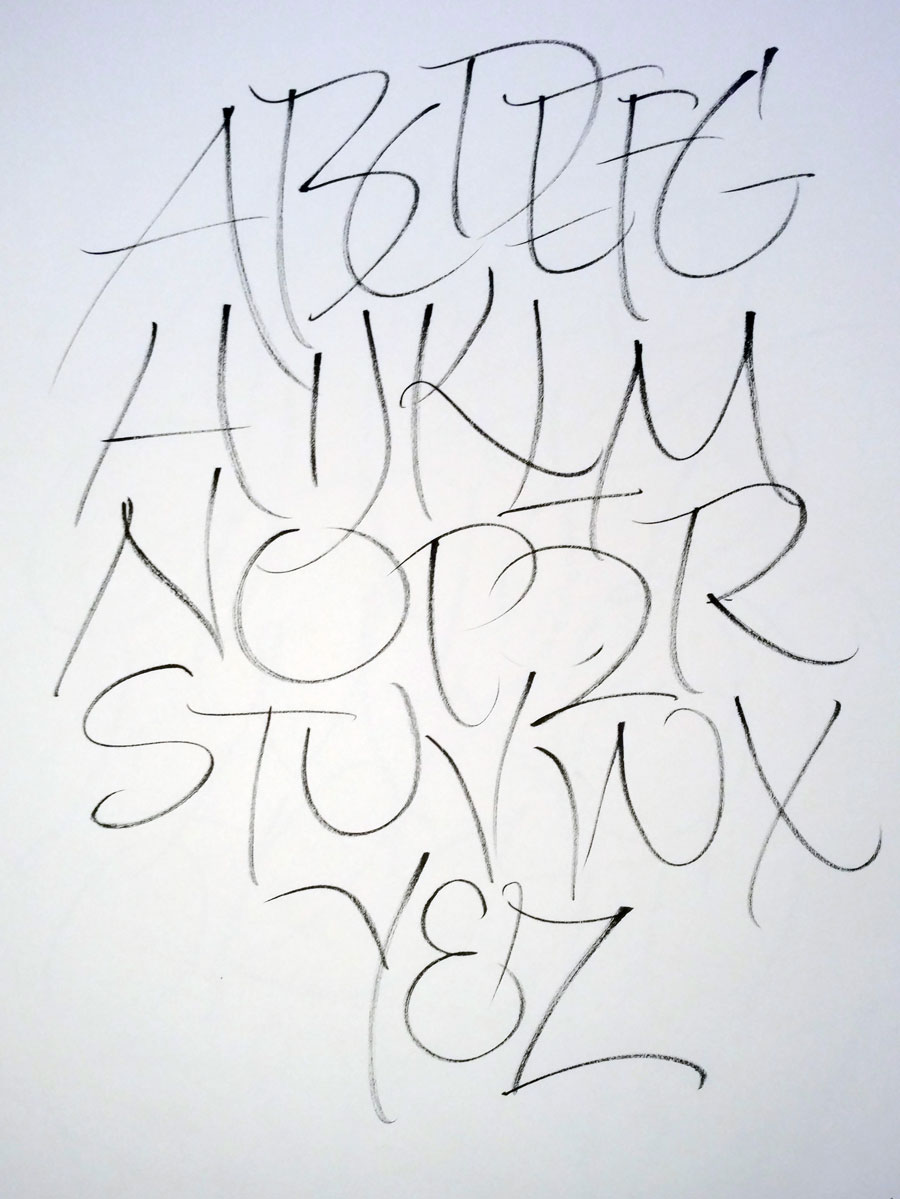
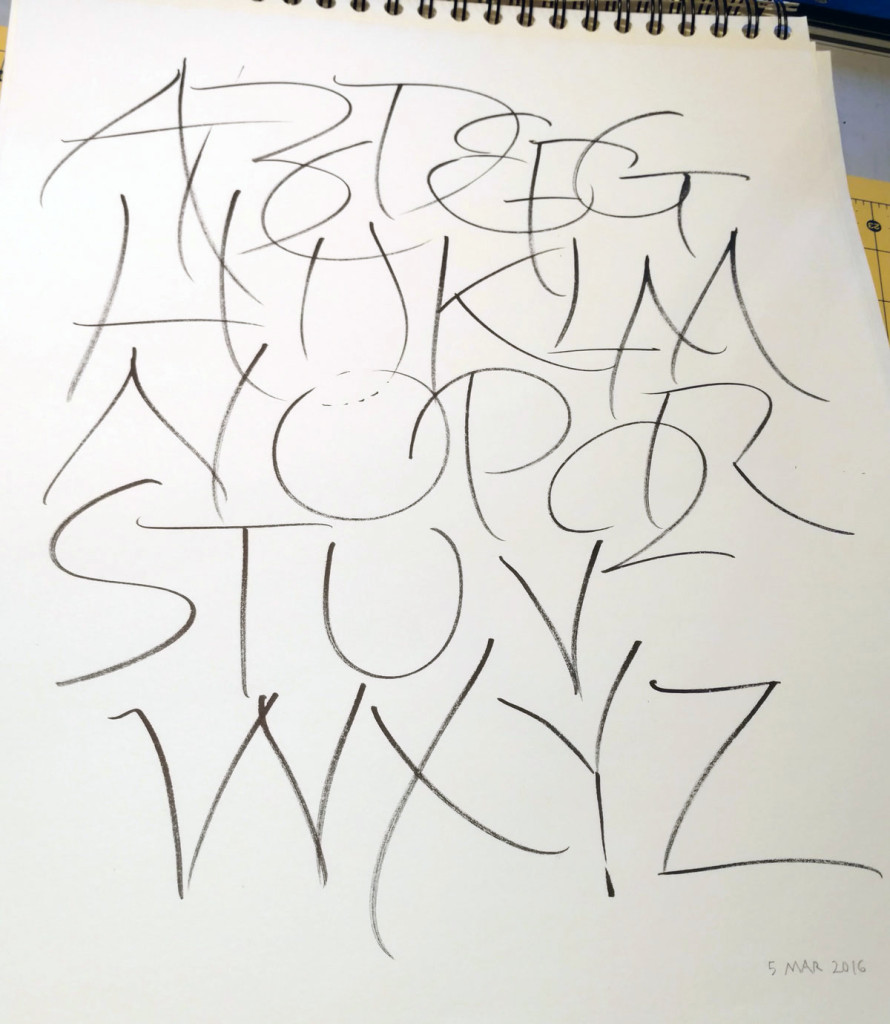
At our guild meeting a week and a half ago, I showed my paper pads full of gestural alphabets and demonstrated a couple of pages. Then we spent the rest of the meeting standing in front of our paper pads and making gestural ABCs and/or full alphabets. It was wonderful to see everyone in the room so absorbed in this meditational, rather addictive practice. Every once a while I would remind someone that she was resting her elbow on the table, or that she was looking a little too invested in the outcome to move freely, or [insert any other impediment to flow that I’ve caught myself doing], but mostly we just had a really wonderful time. Below is a sheet from March 11 plus two sheets I did during the guild meeting a few days later.
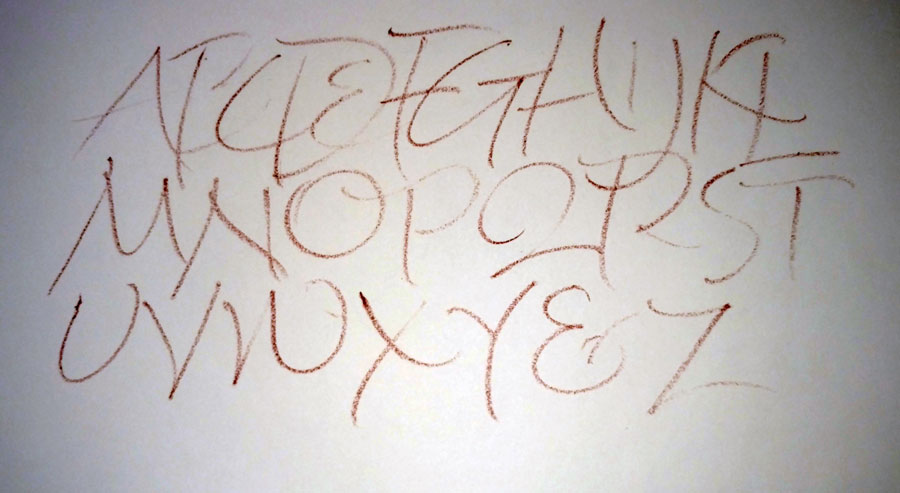
March 11 daily letteringMarch 14 gestural alphabet done at the guild meetingMarch 14 gestural alphabet made with a lip liner that was in my pencil bag
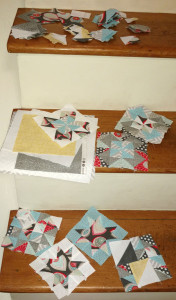
I’ve had a little time to work some more on this baby quilt, which is now quite behind the times. At this point I’m more tardy than the baby was premature! Still, I have hopes of finishing it in short order.
After several false starts, I decided to make an organically built scrap quilt, from squares and half-square triangles exclusively. I made a ton of half-square triangles with finished size of 1 inch. (See my earlier post about that.) At that I stepped back in horror and wondered what possessed me to work at a 1-inch scale. So I made some half-square triangles and squares at double size (a whopping 2 inches, for those who are mathematically challenged). And then I started putting them together as seemed pleasing. I’ve got seven squares together now, and the makings of probably another five squares right there on the top step of the stairs that lead up from the basement sewing room. If that doesn’t seem enough, I’ll continue making more pieces, or maybe just have some blank squares interspersed.
It’s very unusual for me to begin with only a cellular plan and no overall plan.
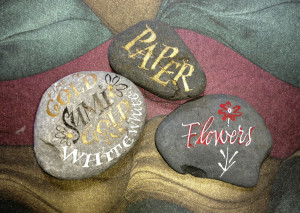
Last week I had some fun lettering on a few rocks I had picked up in the yard. The few accounts I had read by people about this seemed to indicate that it was difficult. It’s not. It’s actually rather … I was going to say “absorbing” but that would be silly. It’s true that if I didn’t mix the gouache thick enough, a line of dark appeared around each letter; this disappeared as the fluid dried. Rocks are actually quite lovely to write on. I tried sumi ink (Moon Palace), gold ink (Spectralite), gold watercolors (pans), white ink (Dr. Martin’s), and gouache (Schmincke mixed with either extra gum arabic or glair; I didn’t keep track of which container was which). They were all lovely to work with.
In between teaching a manuscript book class, some web design work, and my daily alphabets, I’ve been doing some quilting … on the Farmer’s Wife quilt-along (link to this week’s squares) with my sister, but also on a baby quilt.
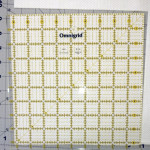
Cutting a 9-inch square.
After some false starts, I’ve decided to take a grassroots approach to it, starting with the unit — the half-square triangle (HST) —and building up. I started with one 9-inch square of fabric. Two 9-inch squares sandwiched together, sewn and cut apart yield 32 HSTs. Here I’ve just cut the top and right edges. Then I rotated the cut piece of fabric and cut the other two sides.
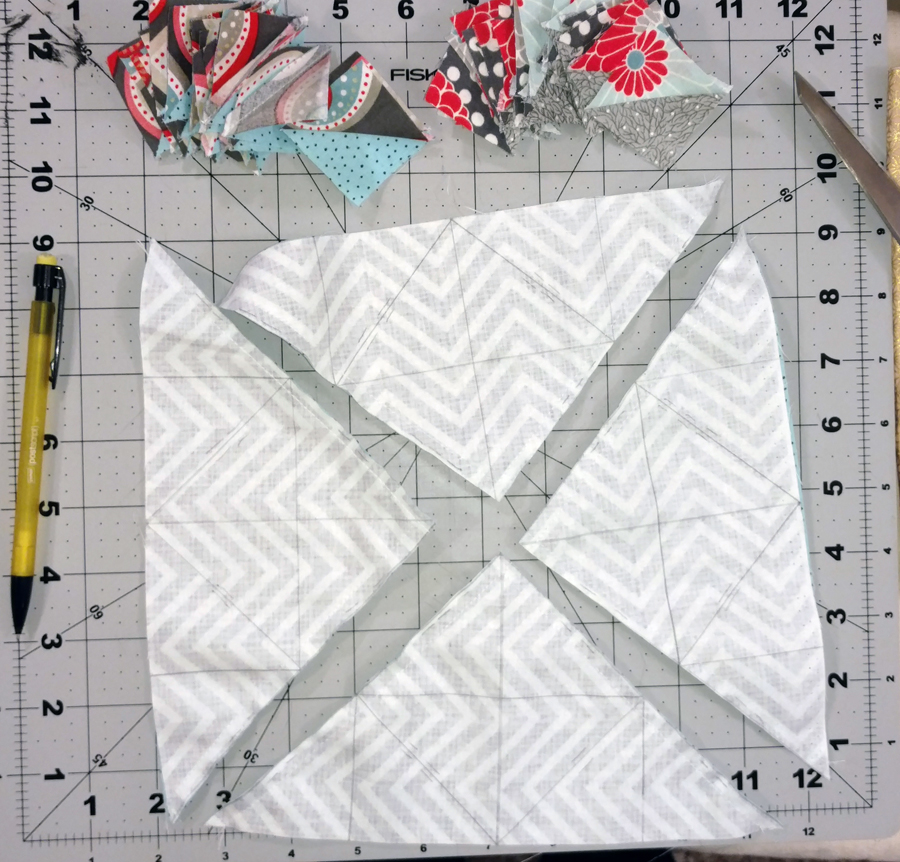
Next I marked the sewing and cutting lines. I will sew 1/4″ away from either side of each diagonal line and then cut on the line, while all straighten lines will be just cut. It’s hard to keep track of which lines are sewn next to and which are not, so I’ve learned to mark indicated the sewing lines with a couple of additional dotted lines within each section of the diagonal lines. You can see them more clearly if you click on the thumbnail at left. This image shows all of the diagonal lines — the primary X and the secondary diagonals that form a diamond — and the primary straight lines that form a cross. But this image doesn’t show the secondary straight lines that would intersect the four X’s.
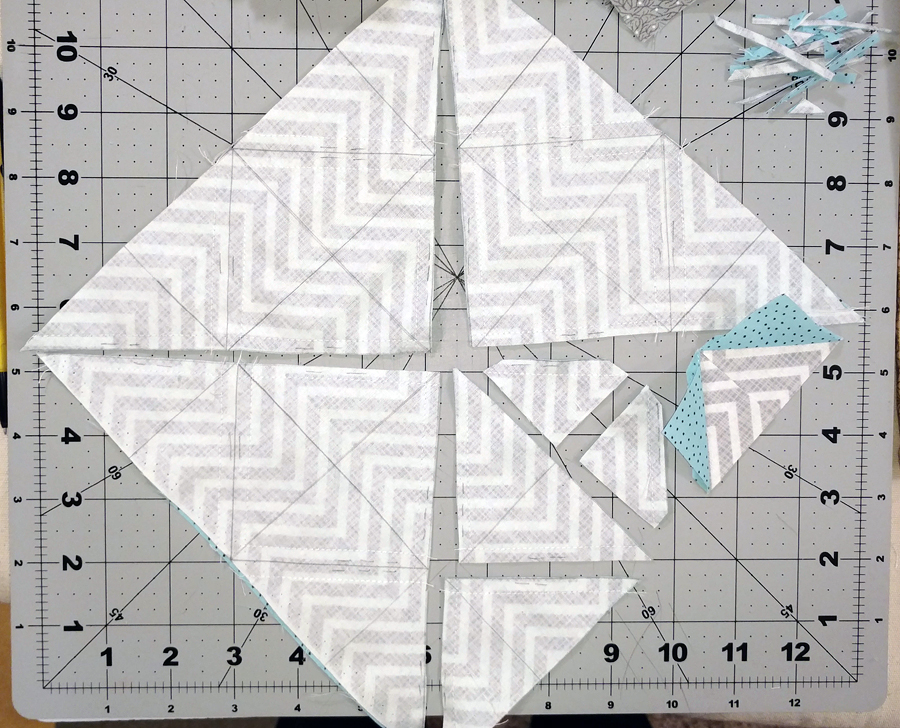
The primary diagonal sewing lines, sewn and cut.
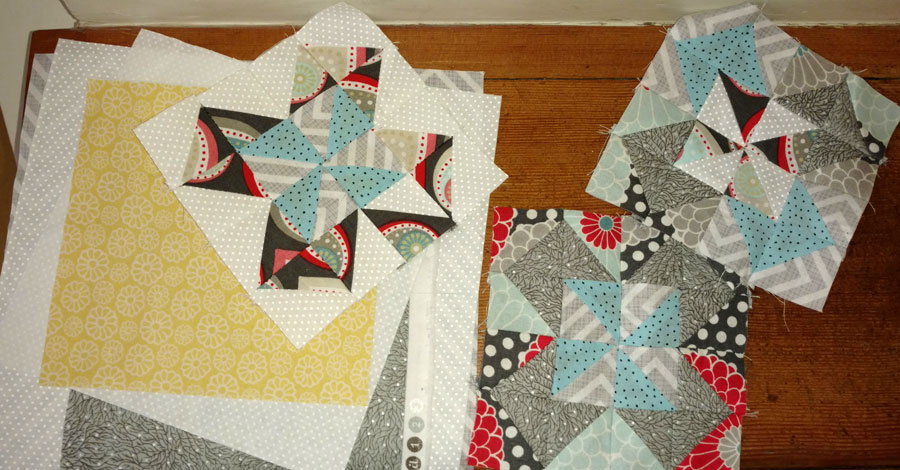
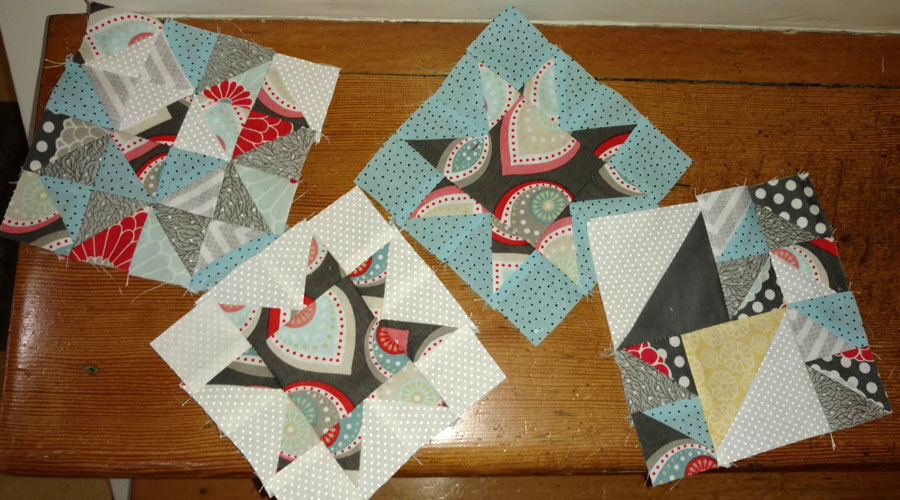
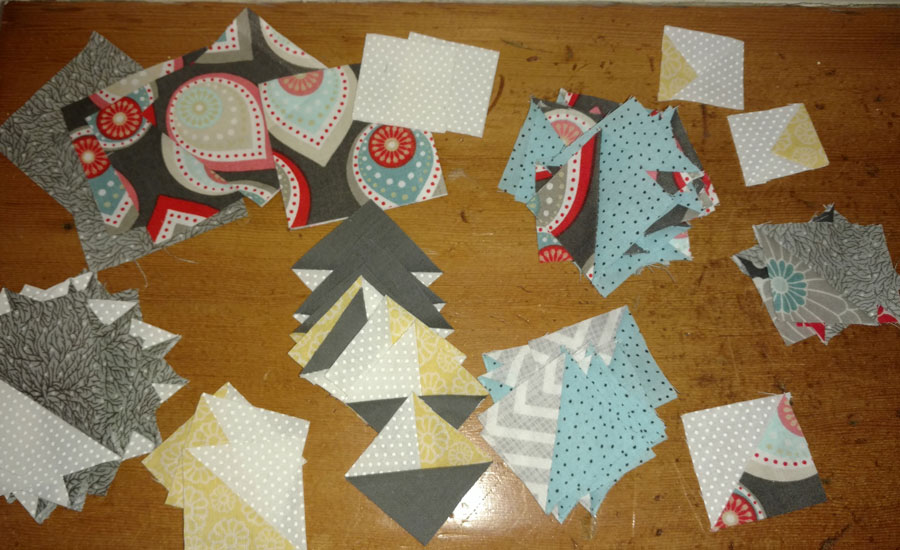
Here I’ve sewn on the primary diagonal lines and then cut on the lines. (And you can now see the secondary straight lines in this image.) Next, I’ll sew on the secondary diagonal lines, then cut them apart, then cut on all the cut-only lines. Now I have 32 folded triangles. The left image below shows one quarter of the 9-inch square partially cut part, and one pair of HSTs ironed open. The next image show three pairs of HSTs ironed open.
I’ve done this with four 9-inch square sandwiches, each a different fabric pairing, yielding 144 HSTs total. You can see two sets of these HSTs in the photo above right. These will finish at 1 inch square, which is small. But let’s see: 32 inches x 32 inches means that already the quilt is nearly 3 feet square. I’ll do some more HSTs to finish at double the size, 2 inches square. I’ll start with 6.5-inch squares, but only make the primary X and cross, to yield 16 HSTs about 3 inches square, trim to 2-1/2 inches square, for a finished size of 2 inches square.
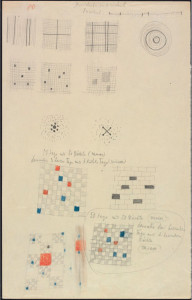
A page from a Paul Klee notebook, online at Zentrum
According to Open Culture, Zentrum has put 3,900 pages of Paul Klee’s personal notebooks online, presenting his Bauhaus teaching from 1921-1931.
Introductory notes (translatable by Google) and a link to the notebook are here. I found that Google translation was, for once, unhelpful on the notebook pages. If your German is inadequate (as mine is), your best bet is to click on this icon and scroll down, clicking on any thumbnail that grabs your fancy.
Their online collection of Klee’s work are listed here (see the menu of links on the right).