Working in a blackletter class with John Stevens

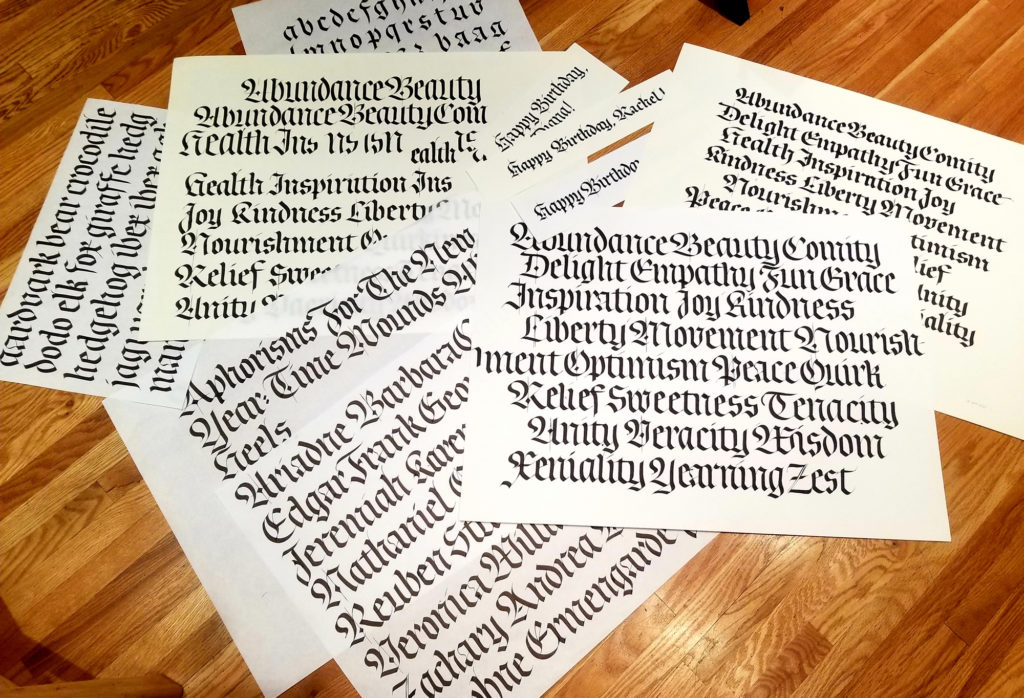
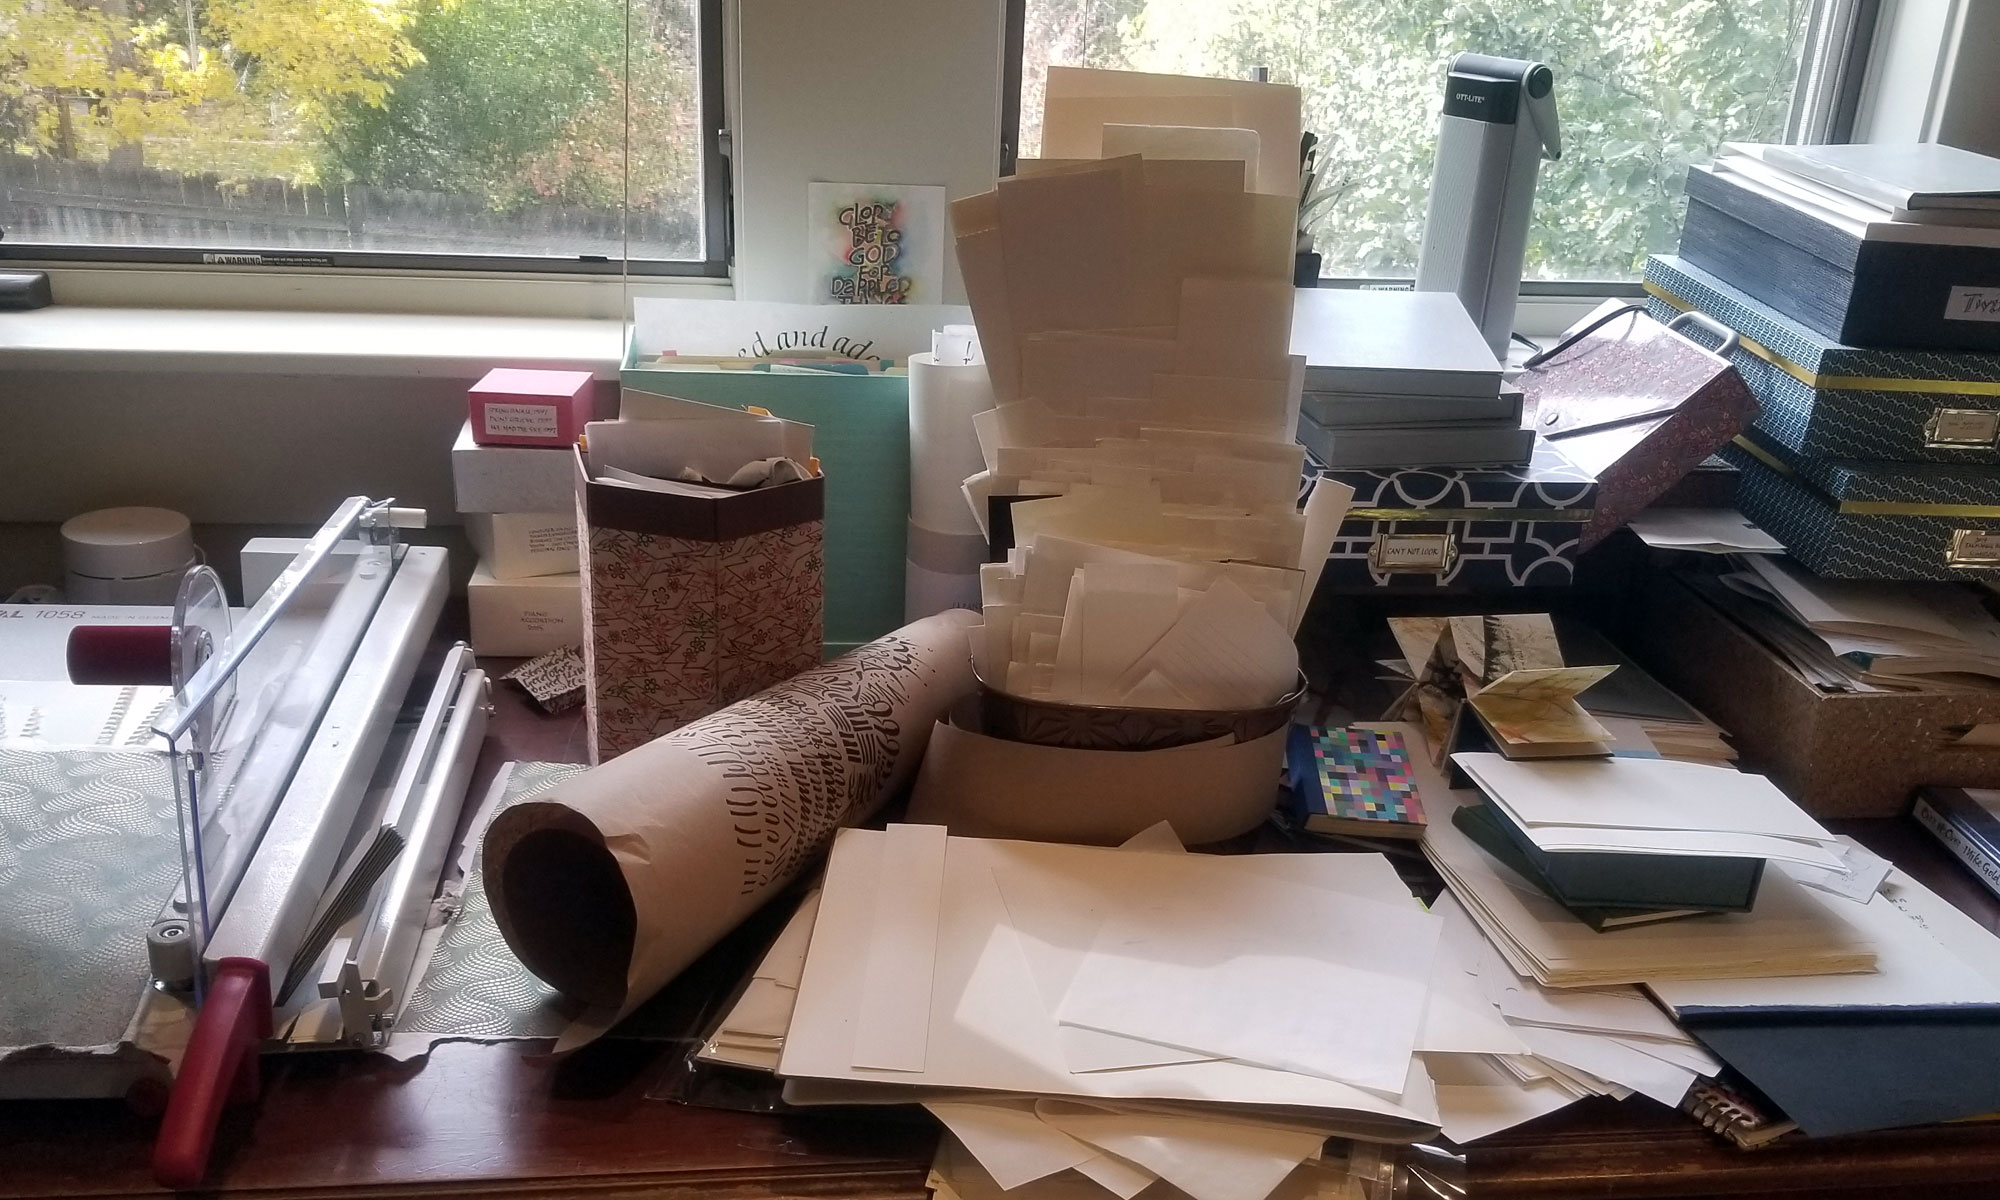
This online class finished a couple of weeks ago. However, I’m still working on the plethora of blackletter exemplars and examples that John Stevens shared with us. So it not only was a wonderful class, it still is a wonderful class for me.

A folio of Fraktur lettering, with brush-made abstracted Fraktur forms on the left and pen-made text on the right.
Left: flat brush and Nicker poster color on Artagain black paper. Right: 2mm Brause nib and stick ink on unknown difficult paper. Each page 9×12 in.

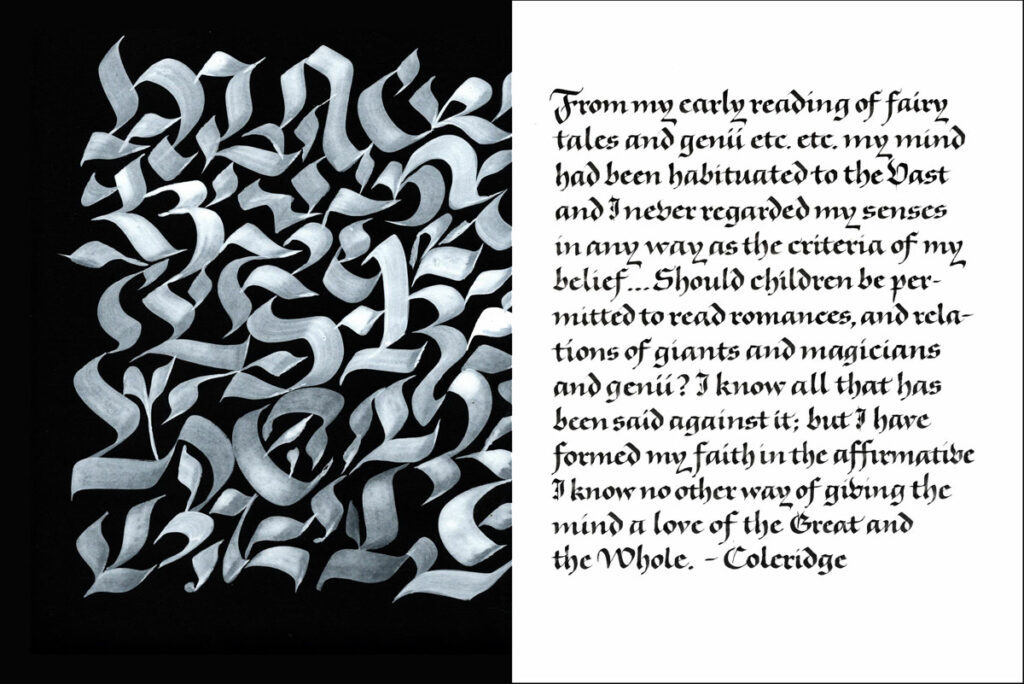
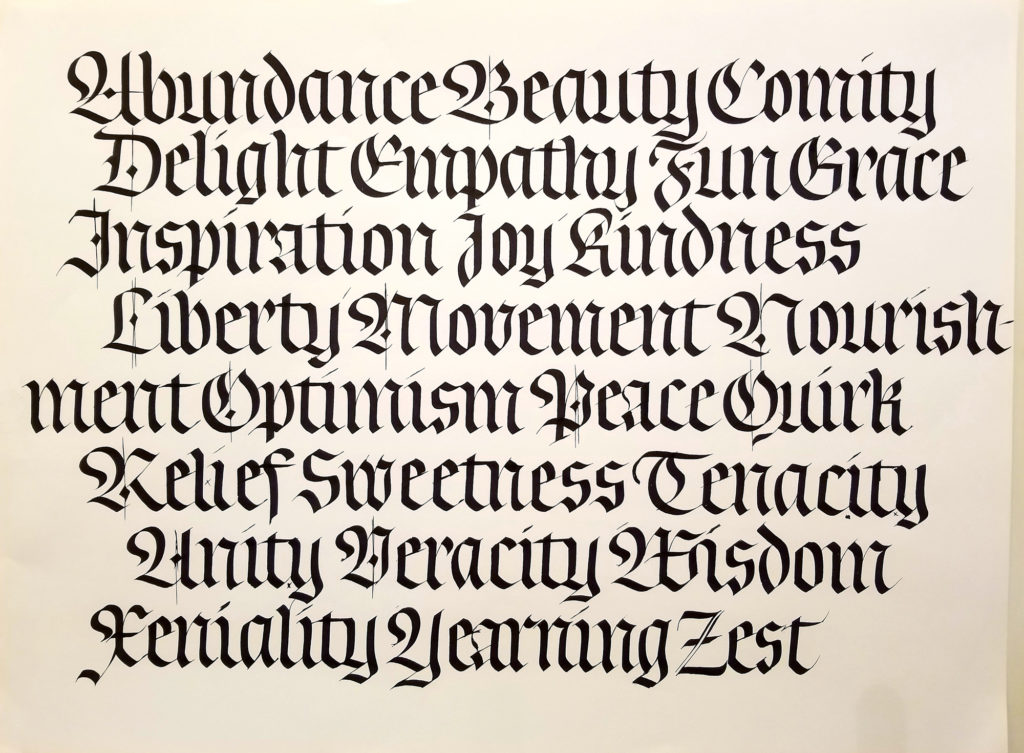
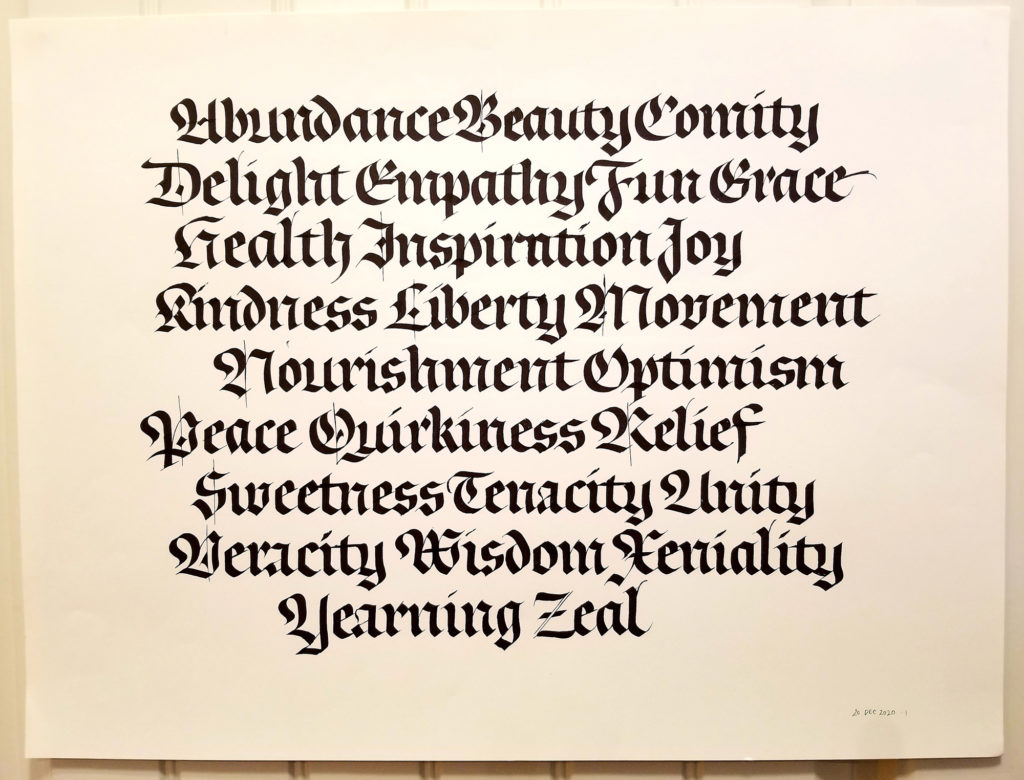
John usually includes layout in his classes. And he often uses the folio to combine image and text on the page together. The work above is a response one of those folio assignments.

I still want to spend some time with double-stroked blackletter (this example of John’s is so luscious), Fraktur capitals with pen and with brush, pattern-filled Lombardic capitals, and some Zapf and Koch exemplars. And more …

It’s interesting to compare the lettering I did in this class with the blackletter work I did in Luca Barcellona’s class two years ago. I felt more comfortable with that earlier work, even as it was happening. And I wonder why? I think it may be that the earlier class did not present as many choices, as much background. I feel that I came away from the blackletter class with John Stevens with a whole panoply of lettering choices and ideas, and that I learned one style very well in Luca Barcellona’s class. Both have been extraordinarily valuable classes. And I’m glad that I happened to take the two classes in the order that I did.

Learning Fraktur blackletter style with Luca Barcellona

  • Fraktur blackletter practice sheets
  • Fraktur blackletter practice sheet
  • Fraktur blackletter practice sheet
  • Fraktur blackletter practice sheet

I’m taking Luca Barcellona’s Advanced Fraktur blackletter class through the Society of Scribes, New York City’s calligraphy guild. The last of the three session will take place at the end of next week. Meanwhile, the floor of my studio is simply littered with sheets of blackletter practice. After a similarly structured class with Elmo van Slingerland, I’ve become a little more accustomed to working large. Most of the sheets pictured above are 18 in x 24 in. I’ve done these with a 6mm Pilot Parallel Pen on sheets cut from a roll of white butcher paper. Creamier-toned sheets are Strathmore Drawing 400 paper.

I haven’t taken blackletter from a teacher before, at least not in the past 25 years, and this has been a valuable experience. I missed the previous intermediate class, but I think I’ve been able to catch up. (Having taking two classes through Society of Scribes now, I’ve got to say that Phan Nguyen is the best facilitator ever. He makes the online experience a real pleasure.)

Blackletter

2015-04-11 blackletter trialsI have little affinity for blackletter styles and clients request blackletter (“Gothic”) calligraphy only a few times a year, so I don’t work on it much. This year my study of the Fraktur exemplars which Yukimi Annand generously shared with me has made work on these historic register certificates more enjoyable.

Faux-medieval invitation

MSU madrigal dinner invitation scroll

Today I made a couple of faux-medieval invitations for a madrigal dinner. (The invitee’s name is of course quite clear on the original; it will be presented in person later this week.) Although the image doesn’t show it well, the paper (80-lb. Strathmore Drawing 400) was tea-dyed.

I did a number of trials to determine what papers are suitable for tea dyeing, how long to soak the paper, whether it would be better to print the coat of arms (created in Photoshop for the event) before or after, whether I should letter on the paper before or after tea dyeing, and so on.

I printed the coat of arms before dyeing the paper because the inkjet ink is waterproof and I liked the printing better after dyeing. Then I dyed paper by soaking it in a Pyrex dish of Lipton Iced Tea (2 family size bags in a teakettle of boiling water) for 2-5 minutes. In one the earliest trials I put the dyed paper between waxed paper to dry, but this created a pattern (which I liked but didn’t concide with my intention); my final solution was to dry the papers between shop towels sandwiched between large sheets of blotting paper and under a few pieces of corrugated cardboard with a heavy-ish book on top.

MSU madrigal dinner invitation scrolls and boxes

I wove together two blue ribbons and a gold rattail cord to make the cords that keep the scrolls rolled up. A 9″ x 14″ scrolled piece of paper is rather fragile, so at the last minute I decided to make boxes to hold the scrolls. I used some scrap gold matboard and some more of the washi tape I used for this book in January. The boxes definitely qualify as ephemera; washi tape, at least this washi tape, is not very sticky and doesn’t stay stuck for long.